CNST
Help Guide
  Home || CNST 220 Start || CNST 328 Start || Customize Your Store || Manage Your Store || Software Tools

Customize Your Store

Homepage

Store Pages

Add a New Theme
 
Store Pages

Customers click links on your homepage to enter your store pages. You can change the basic look of these store pages from one place — the StoreFront Themes settings in the StoreFront software.

Open Dreamweaver.
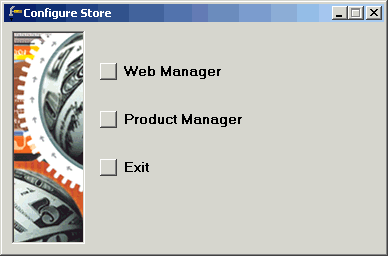
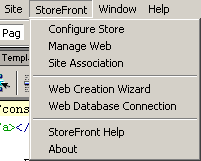
Click on the StoreFront menu item and select Configure Store.
Click the Web Manager button.

Click the StoreFront Design tab and locate the Design Elements, Themes area. A theme controls the look of all the store pages, not your homepage (default.asp).
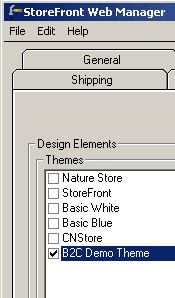

To apply a theme:
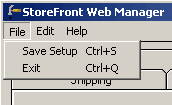
  1. Check off the box in front of the theme name and then click File and Save Setup in the StoreFront Web Manager menu. Next, click File and Exit.
  2. Then click the Exit button in the Configure Store window.
  3. Upload your entire site and visit your store by going to your group homepage and clicking the store link on the class homepage. Repeat steps 1 - 5 to change the look for the store pages again.
If your team decides to modify a theme, click the checkbox next to it and press the Edit button.
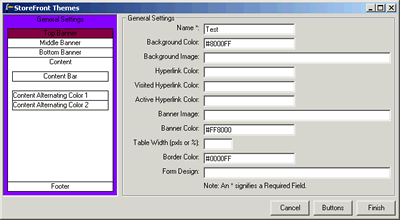
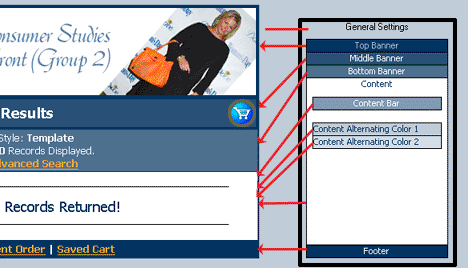
  1. The current color scheme is displayed on the left, inside the StoreFront Themes window. Choose a page area by clicking on a title within the color scheme area.
  2. The right side of the window is the settings area for the page area chosen from the left side. Right-click inside any field to select a color or other value. Do not edit the Buttons.

    While in the StoreFront Web Manager, click Help, and then Help Topics to search on "Themes" to find a very detailed explanation of the areas shown below.
  3. Press Finish when you are done.
  4. Click File and Save Setup in the StoreFront Web Manager window.
  5. Click File and Exit to leave the StoreFront Web Manager window.
  6. Click Exit in the Configure Store window.
Upload your entire site and visit your group homepage to see the changes.


>> Manage your store now.