CNST
Help Guide
Help Guide
Dreamweaver

| Upload Files | ||
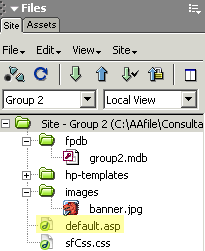
Open your site.
|
||
| Select your files. Click on the highest folder on the list — your group folder. This will enable you to upload everything in one step instead of moving one file at a time. This is highly recommended since it will eliminate the instance of forgetting to upload all files needed: images, the database, etc. |
||
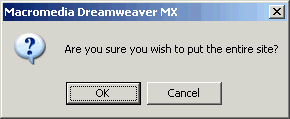
Upload.
|
||
| See the results. Go to your group homepage to see how things look. Remember, this page is now public; anyone can see it. If things don't look right, you will have to edit and upload the homepage again — the default.asp file — or use the StoreFront menus to change themes and products. Group 1 || Group 2 || Group 3 || Group 4 || Group 5 || Group 6 || Group 7 || Group 8 || Group 9 || Training |
||
| >> Manage your store now. | ||

