Paint Shop Pro

Open an Image
Set the Resolution
Adjust the Dimensions
Save the File
Upload the File
Using Paint Shop Pro Help
|
|
| Set the Resolution |
 |
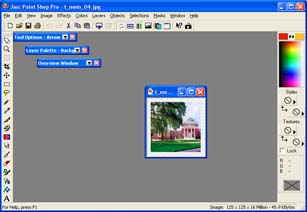
Select the image file.
After opening the file, click once in the image. If other images are open,
this will select the image.
 |
 |
Open the resize window.
- Click Image on the main menu.
- Click Resize in the dropdown list.
|
 |
Set the resolution to 72 pixels/inch.
- Click the small white
circle before the words "Actual
/ print size."
- Find the Resolution field and type in
72 if there is a different value in the field. This will
adjust the image for use on the Web. In this example, 125
must be changed to 72 pixels/inch. However, you probably
won't have to reset this value since it may already be at
72 pixels/inch.
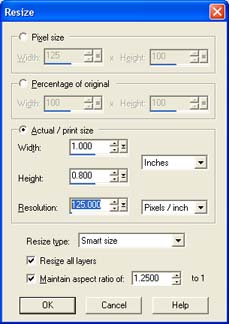
- Examine the Pixel Size area at the top of the Resize window.
If the dimensions are smaller than your target area in your
web page, you will have to select another image that is
the same or larger than your target area. You
will have to begin at Step 1 above.
- Click OK.
|
| >> Adjust the image dimensions
now. |
|